
How to Install a Backsplash
Installing a kitchen backsplash is often one of the first DIY projects that homeowners take place in. Installing a backsplash is an efficient and easy way to upgrade your home and add a new center of attention to your kitchen. Depending on the type of backsplash you add, it can completely change the aesthetics and look of your home.
One of the beauties of this project is that intermediate skilled homeowners can efficiently and effectively install a backsplash with little to no problems. So without further ado, let’s get started!

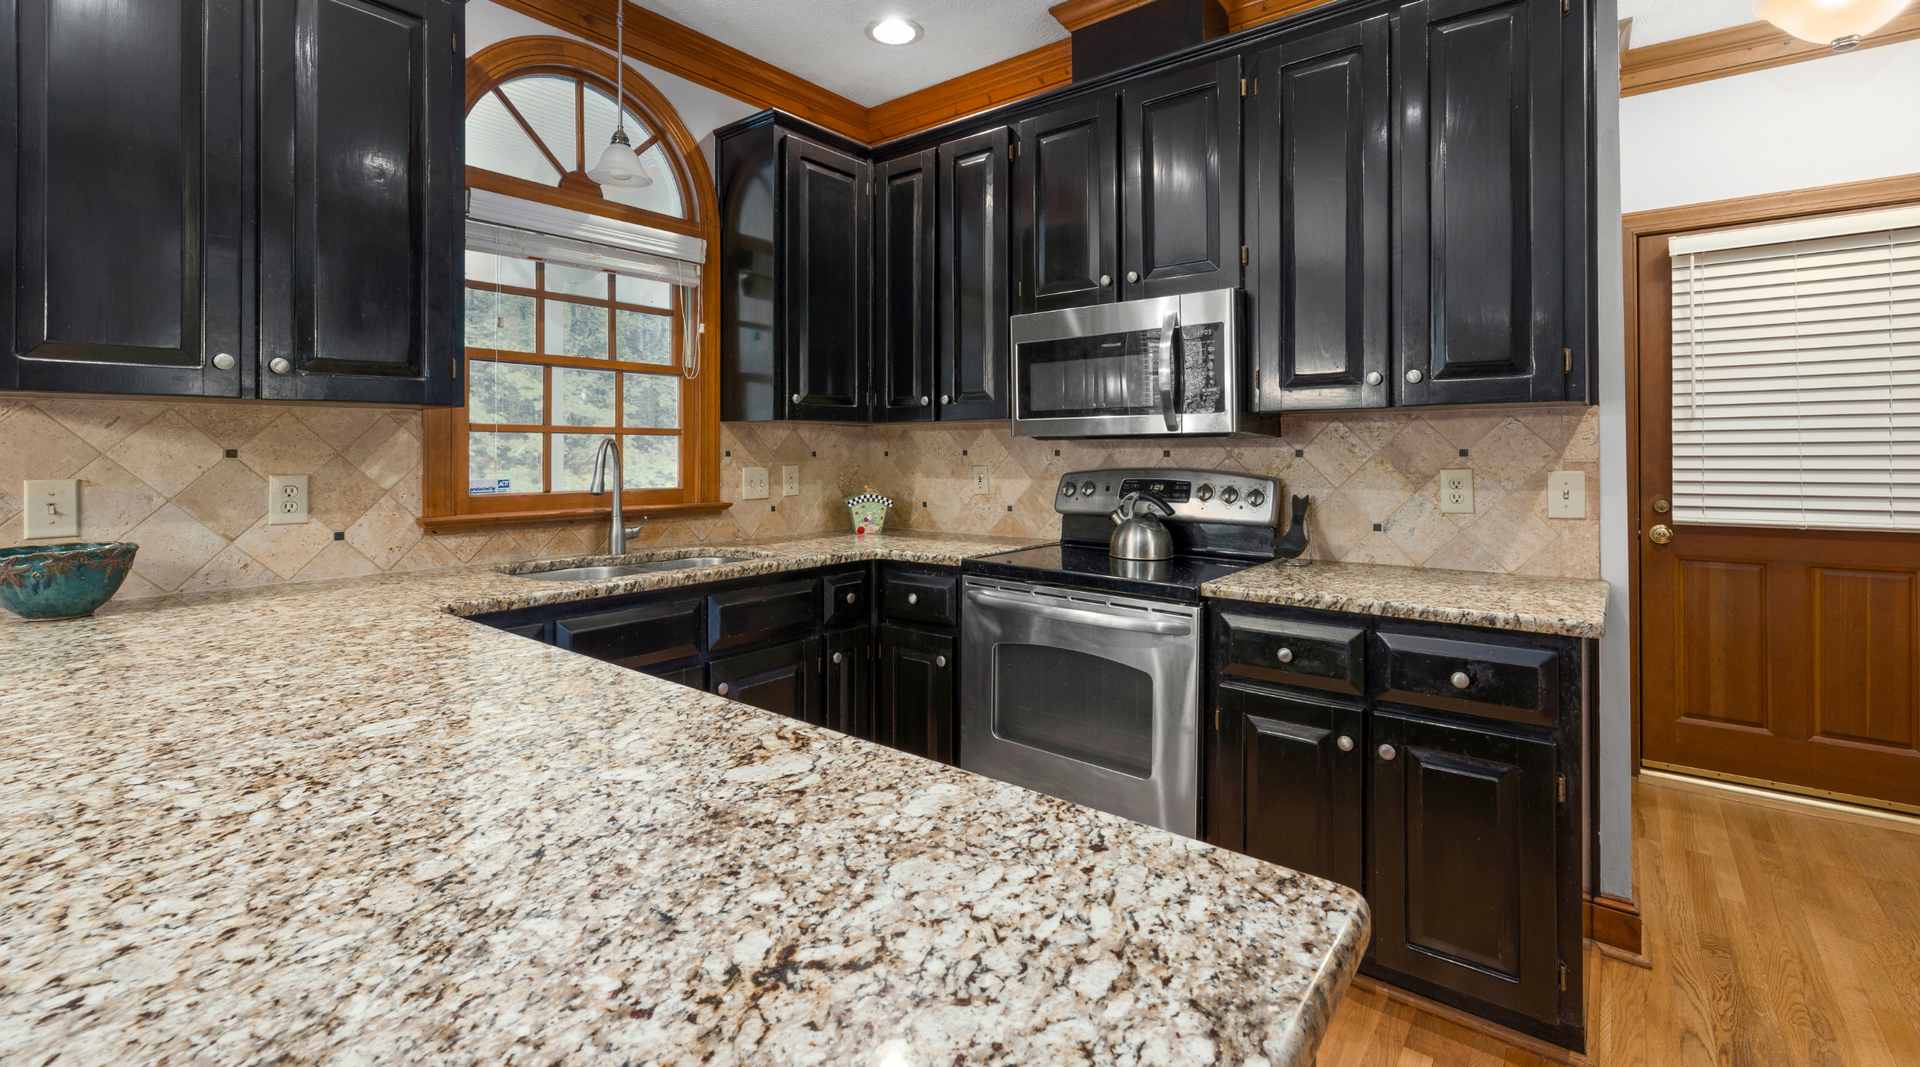
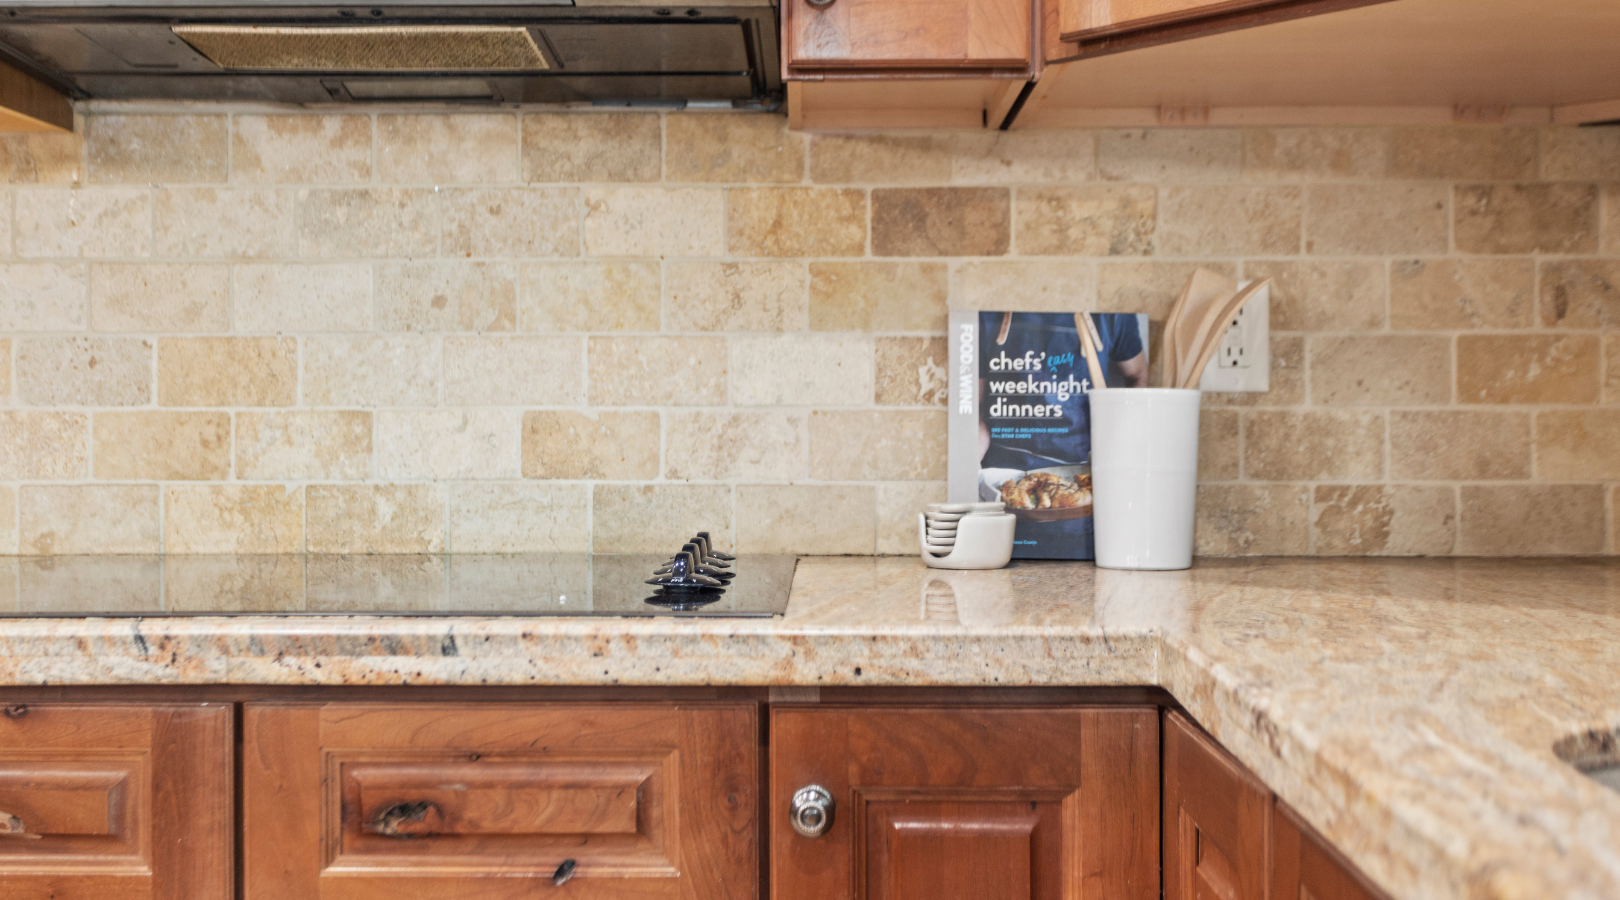
Photo Square Jars of coffee beans sugar and cream on a countertop with tile backsplash. The cabinets inside this kitchen is has matte black handles.
Prepare + Plan for the Walls –
The first step to ensure you will do this job smoothly is to measure out the walls and find the center of the wall and mark it. This will ensure that you have the right amount of tile that you need. If you only have one small section, you do not want to buy too much time or have to cut too much off in the end.
Prepare for the outlets or switches on the wall when tiling; if you do not plan properly for these, you may have trouble in future steps. We also suggest you clean the wall to remove any grease or other debris that may have been left behind before you add adhesive. Any items on the counter must be removed as well, so you have space to operate properly.
Pre-Lay Tile
This step is fairly straightforward. You will be placing the tile across the wall and marking where your endpoints are. In this step, you will want to use a straightedge or level to ensure that you keep the tile even throughout.
As you are pre-laying the tile, you may notice that some areas need to be trimmed or cut down. Simply do this to ensure that the tile will fit once you get to applying mortar. You will not have to remove the tile and start this process over should it not fit. We suggest using a tile cutter for this step to produce clean, concise cuts on any material you should use.
Preparing + Applying Mortar
You will not need a lot of mortar as tile is very light, and you will not be utilizing a very large area, most likely. We suggest buying already mixed mortar materials; the dry ingredients will come combined and ease the entire process. You will need to add one part of water, and then depending on how much mix they gave you, about three or four parts of the mix. Stir the materials until the mortar is smooth; this part of the process usually takes 5-10 minutes.
 Start in small sections and begin applying the mortar to the wall, spreading thin layers flat. The most important portion of this step is correctly troweling the mortar. Make sure you use the flat side of the trowel to spread the mortar over an area of about 3 square feet. Now using the notched side of the trowel, go over the mortar to produce an even surface. Make sure you are using long strokes and holding the trowel at a consistent angle.
Laying Tile
Apply and press the tile of your choice to the wall. Using tile spacers will allow you to keep the tile pieces lined up evenly and follow the lines you made earlier when the wall was dry. The tile should be completely covered with a thin-set and have the right mortar consistency. Continue after setting your first set of tiles by following it up with the second set aligned and ready to go.
Stay consistent, and focused; this is one of the easiest steps but can become difficult if you allow it to.
Voila! You are finished, now you can choose whether you would like to pre-seal the wall or just admire your work as-is. Planet Stone has been serving Los Angeles area homes and businesses since 2005 and offers a variety of granite countertops, quartz countertop, and other countertop surfaces to fit any budget and style. With pricing starting at $29.99 per square foot for prefabricated granite, you can have the room of your dreams without breaking your budget!